Flower Basket Bouquet with Deb & Vicki
Flower Basket Bouquet
Sale Sale Sale on the Website – Check it out!!!!
Click here to see all that is on sale!
Hidey Ho Teaspoon Fans,
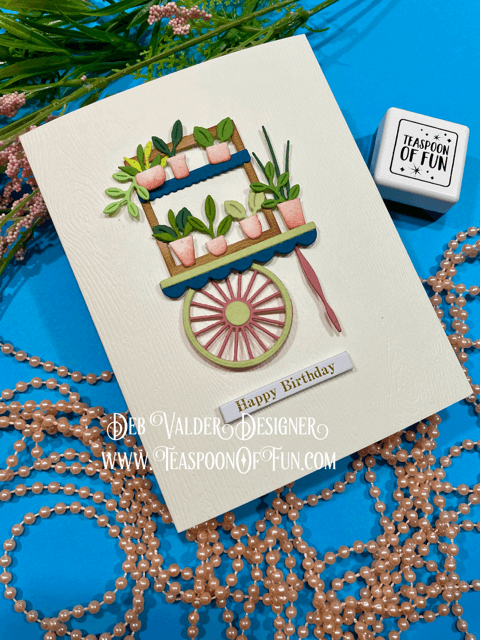
New New New….Teaspoon of Fun has just added some NEW products. Make sure you check them all out. Today Teaspoon of Fun is bringing you a gorgeous card created with the Flower Basket Bouquet which is new in the shop.
Head on over to Teaspoon of Fun for all your paper crafting needs
and share this site with your friends!
Let’s take a look at what I picked for you today…

Diamond Oval Pinpoint Background
White Happy Birthday Greeting Tabs
Colors I used….
Flowers – Y02, Y08, YR12; R23, R85, RV11; E00, E15, E18, E49; B21
Leaves – YG17, YG25, G28
Distress Oxide Ink Pads – I used Gathered Twigs
NEW – Mini Ink Blending Brushes

Flower Basket Bouquet is a new set in the shop!!! It’s a MUST have!
Look at all the cool pieces you get with this one set!!!

Flower Basket Bouquet
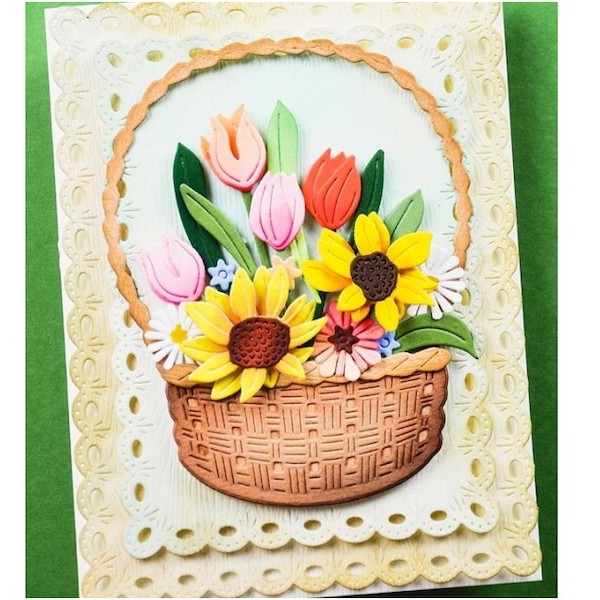
- Cut the Diamond Oval Pinpoint Background in a light blue card stock. Adhere it to your card base using the Precision Glue Press.

2. Next cut out the Round Eyelet Circle Frame from white card stock and adhere that to the card base using the Precision Glue Press.

3. Cut out the pieces of the Flower Basket Bouquet from white card stock. You could certainly use colored card stock for each but I love coloring them and giving them dimension using Copic Markers. Definitely color them before you put them together. I cut a couple extra sets of flowers and leaves so I could fill my basket full. The ones I didn’t use, I stored in a container for my next project (working smarter not harder).
4. The only 2 pieces I did NOT cut from white card stock was the basket and handle – I cut them from a light kraft color. Then I burnished the pieces using the Mini Ink Blending Brushes and Distress Oxide Ink (for this one I used Gathered Twigs).

5. After coloring your flower pieces, start putting them together. Here you will see I put the sunflowers and the white daisies together using the Precision Glue Press. For the tulips, I layered those using the Thin White Foam Squares.

Then add them to the stems.

6. Add your BOTTOME LAYER from the basket to the Round Eyelet Circle Frame using the Precision Glue Press.
7. Add the handle using the Precision Glue Press.
8. Add the top layer using the Micro White Foam Squares.
9. Begin adding your flowers. I added the tulips first. Adhere them using Thin White Foam Squares tuck the stems into the basket.

10. Add your sunflowers next and keep building from there. Use the Jewel Picker and the Retractable Pick to pick up your elements for your card. Use the 6″ Haberdashery Scissors to cut down the stems and other pieces to fit. They are the BEST scissors.

11. I added a few “Forget-Me-nots” (the little blue flowers) in a few spots to fill in empty spots. The colors for this one are just so happy!

12. I added a cute little Grosgrain Bow to the top of the basket using the Precision Glue Press. Then I curled it using the Retractable Pick.

13. I added a White Happy Birthday Greeting Tabs but this card without that sentiment can be used for SOOOOO much! It’s just a fun cheerful card.
14. The last thing I did was to add some Morning Dew Crystal Drops to give it the look of dew drops on the flowers. It just makes it look elegant. Morning Dew Crystal Drops are a MUST for your craft room. They are clear drops that that last forever. Make it the last thing you do to the card so you can let them dry. 
Add your card to one of our A2 White or A2 Cream Envelopes and mail it off to your dear friend.
Here a few more samples for the Flower Basket Bouquet die set….


Please visit our shoppe, we are small, reliable and quick to deliver!
(and we are oh so cute :0).
* * * * * * * * * * * * * * * * * * * * * *
Some basic supplies you should definitely have in your craft room…..
* * * * * * * * * * * * * * * * * * * * * *
Flower Basket Bouquet
Thank you for letting us come into your home and spend a little crafty time with you! It’s so much fun sharing what is such a passion. If we can ever help with any of your stamping needs, please reach out to us, we are here to help and teach, that’s what we love to do. It doesn’t have to be hard, it doesn’t have to be complicated, just fun and thoughtful. All products can be found in our Teaspoon of Fun. Happy Crafting today!
Remember to share it, pin it, buy it and let us know what you think.
(((Hugs)))
* * * * * * * * * * * * * * * * * * * * * *
Flower Basket Bouquet
We have so many new products in the shop. Make sure you check it all out at Teaspoon of Fun. We have a small company but there is a lot of love put into it! Thank you for your support. Thank you for taking time out of your busy day to spend a little of it with us. If you have any questions, please let us know! In the meantime, take a few minutes and send someone you love a hand-stamped card with a little note in it. I KNOW they will love it! All products are listed in the menu below. Just click on the items you want and add them to your cart! It’s that simple! Thank you for supporting our small business.
Flower Basket Bouquet

I participate in several affiliate programs. That means that I receive a commission when products are purchased through links here at this blog (at no cost to you). Please know I will never share or even review product that i would not personally recommend or that I do not personally like.
Featured Products

Flower Basket Bouquet Die Set
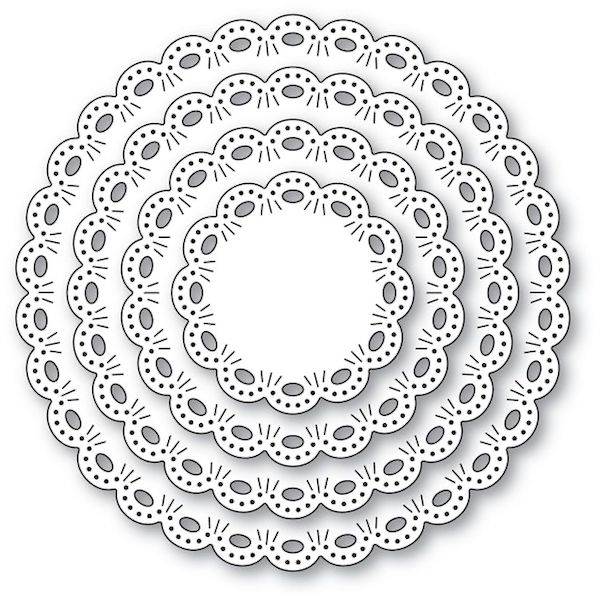
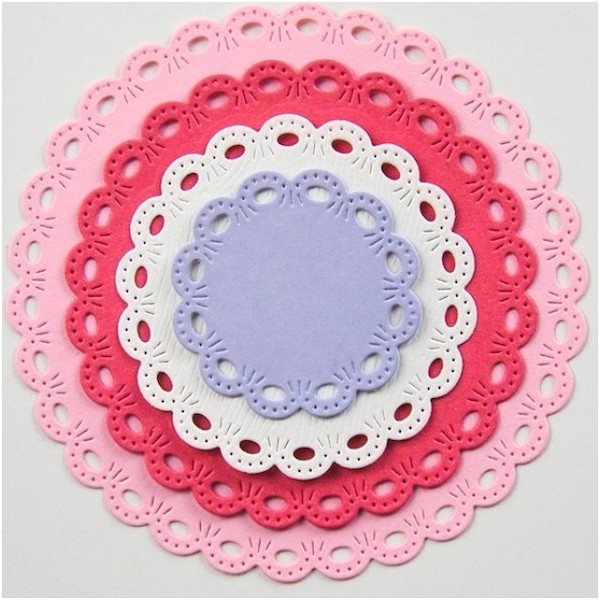
Round Eyelet Circle Frame Die Set


Diamond Oval Pinpoint Background Die

Grosgrain Bow Die

Crystal Drops By Nuvo – Choose your Color

Happy Birthday Foil Greetings White Tabs

Tim Holtz Retractable Craft Pick


Jewel Pickers – double ended


Copic Sketch Markers
Copic Texture Kit
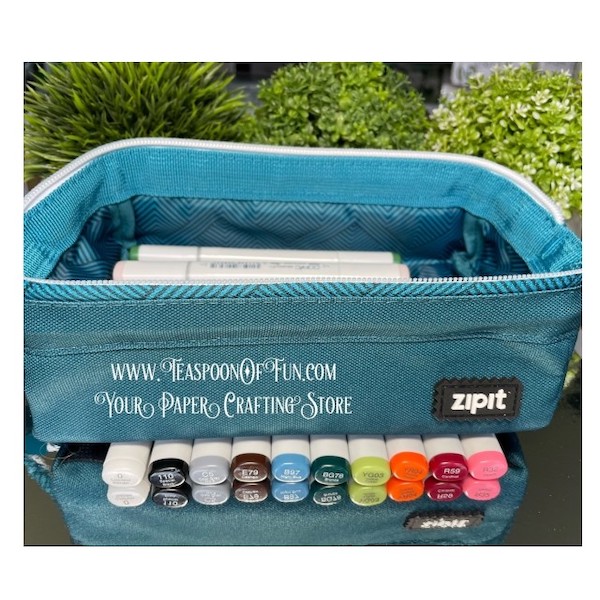
Copic Marker Case


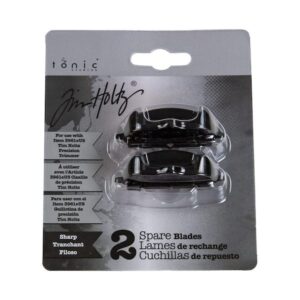
Distress Oxide Ink Pads

Distress Oxide REINKERS
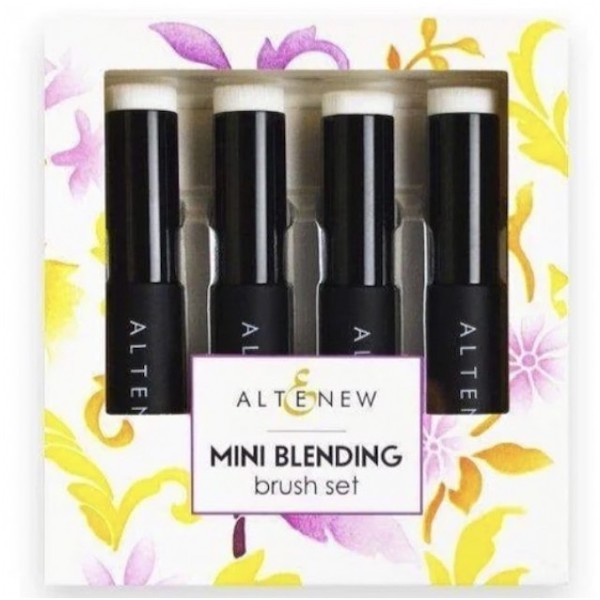
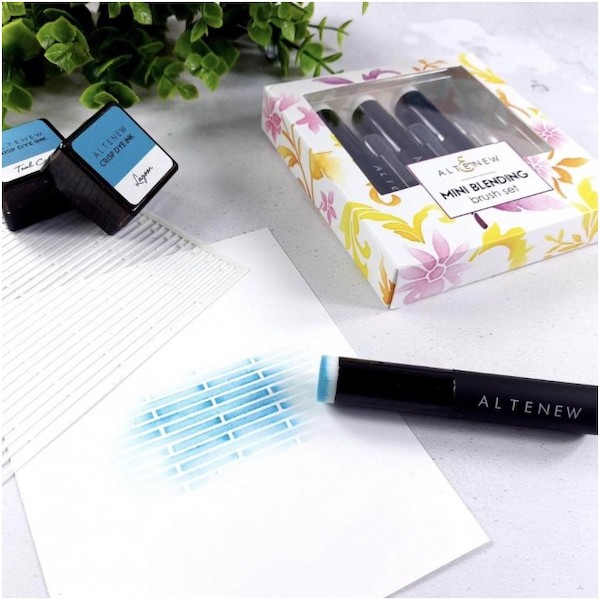
Mini Ink Blending Brushes – Set of 4

6” Haberdashery Scissors by Tim Holtz


My Sweet Petunia Precision Glue Press


Precision Glue Press Replacement Nozzles and Bottle


3D Foam Adhesive Squares Micro White

THIN White Foam Squares, small and standard
REGULAR White Foam Squares-small and standard
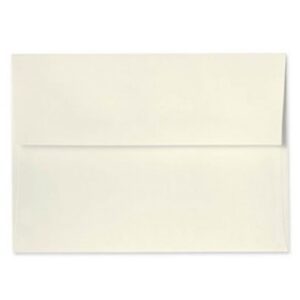
A2 Cream Envelopes, 25 per package

A2 White Envelopes, 25 per package

EZ Runner Grand Dispenser
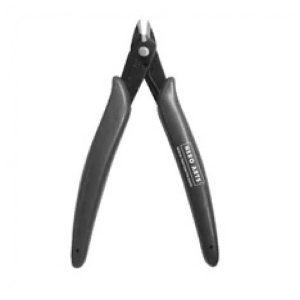
Craft Die Metal Snippers
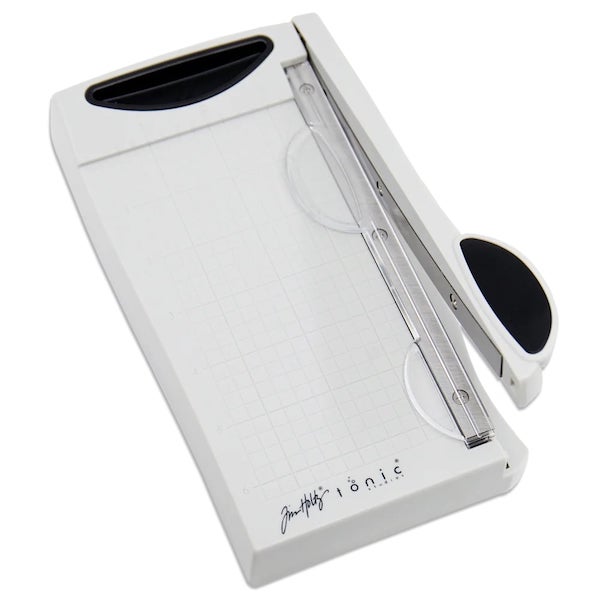

Tim Holtz Precision Trimmer


Paper Crease Tool Bone Folder 6″ Ranger
Sand Eraser


Mini Ladybug Desktop Vacuum – Batteries included

STAMPendable Stamping Tool

Ranger Craft Scraper

Paper Paws 1 piece color chosen at random